If you are new here and would like to know the question - it's in the previous post!
Not content with splurging on baked goods - that I didn't even participate in. ( Again, see previous post). I went and blew the week's shopping budget in the Housewifery Porn Emporium that is otherwise known as Lakeland ( Plastics) . Sure , I do know in a bid to become more upmarket ,they dropped the 'Plastics'; but that's what they are known as in this house and always will be!
I came away with a HUGE bagful of goodies. I bought things like extra dividers for my 12" by 12" cake pan. I bought some bargain cake cases. I also bought some new bakeware that was on offer. A lot of mine are over 20 years old and frankly need replacing!
But this caught my eye...

Eagerly I set off to try it. What a DISASTER!! Well not totally.....but see for yourselves!
 |
| 1. I decided to halve the recipe for the first go as this quantity makes 24. In hindsight - GREAT IDEA!! |
 |
| 2. So far, all was going to plan. I poured the mixture into a jug thinking it would be easier to control. WRONG! The neater ones at the top were filled by teaspoon - JUST LIKE IT INSTRUCTED! Who knew??!! It tasted YUMMEH too! |
 |
| 3. Prior to baking you add the top and clamp into place with the slidey thingies. I took them out five minutes earlier - and had reduced the temperature accordingly - as I have a fan oven. But I don't think this was supposed to happen! Sorry for the non rotation of these pics! |
 |
| 4. Leave to cool in the tin for five minutes and then without burning your skin off carefully prize apart the two halves. As you can see, the disaster starts unfolding before your eyes! Next you have to get them out!  |
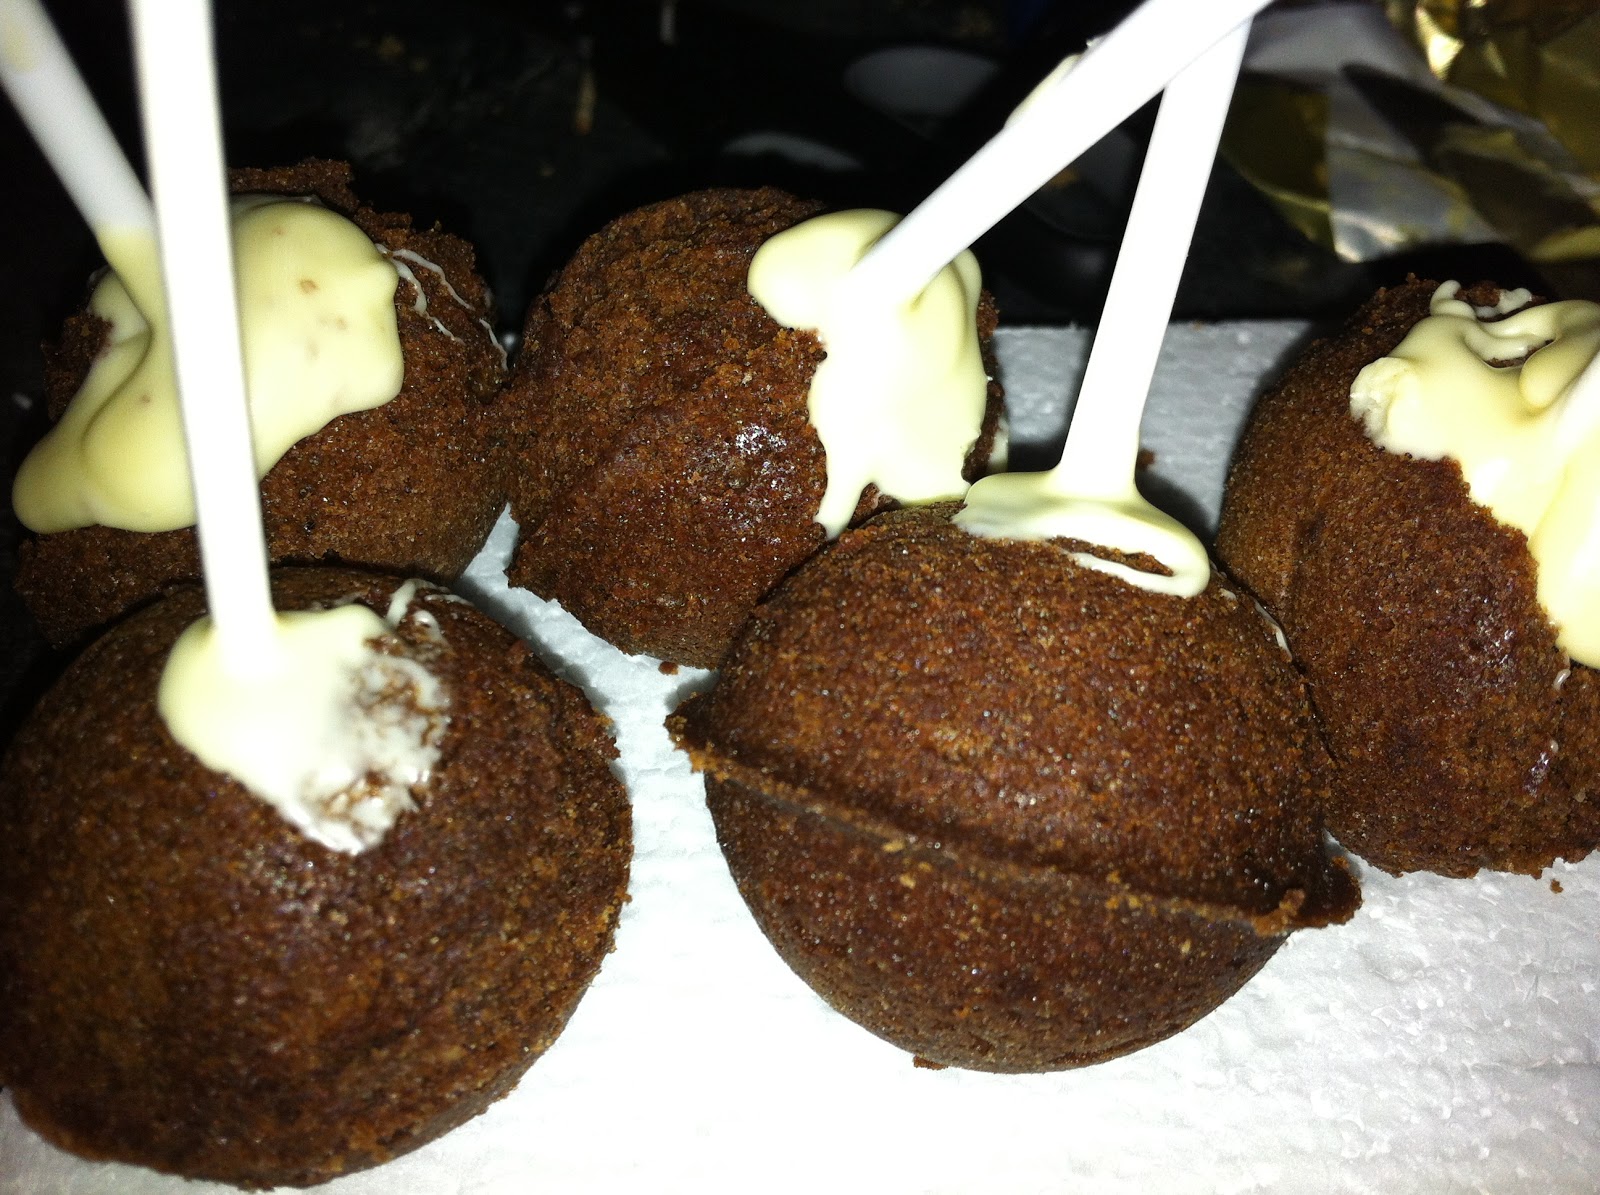 |
| 5.Leave your balls ( ahem ) to go completely cold then insert the stick. My balls were not happy about this. Infact they were determined to slither off down the stick and onto the floor. So I grimly glued them in place.... with melted white chocolate! |
s l o w l y turned and twisted the sticks to get an even coating. I added as many sprinkles as I could. I emergency texted my close supportive friend - who just LAUGHED at my angst!
Me - What a ducking mess I'm making with these sodding cake pops.
CSF - Ha ha ha .. I can imagine. It seemed like such a good idea at the time!
Me - The sticks don't hold the weight. There's melted chocolate everywhere. I've sprinkles stuck to my eyebrows. So I've 'glued' the sticks in with chocolate and I've WALKED AWAY!! %^&*&^%% Balls!
CSF- I am crying here LOLOLOLOLO you do make me giggle. You should tweet all that. It's hysterical! Balls to Cake Pops I say!
So I declined her kind suggestion, choosing to blog it instead! Cheers CSF - you know who you are!
Please don't laugh when you see my deformed balls. They taste absolutely DIVINE! That's all that matters. Right?!


I hope you scrolled back up to note the similarities between mine and the illustrated recipe card!
Lessons I have learned.
1. Cake pops are ROCK HARD to decorate.
2. Grease the tin A LOT MORE
3. Bake for slightly LESS time than I did at a slightly lower temperature.
4. Hire a professional to come an decorate them.
Have you ever made these? Have you any *coughs* 'success' stories you'd like to share?
